100KB Photo Requirement for Government Exams & Admissions: Full Guide
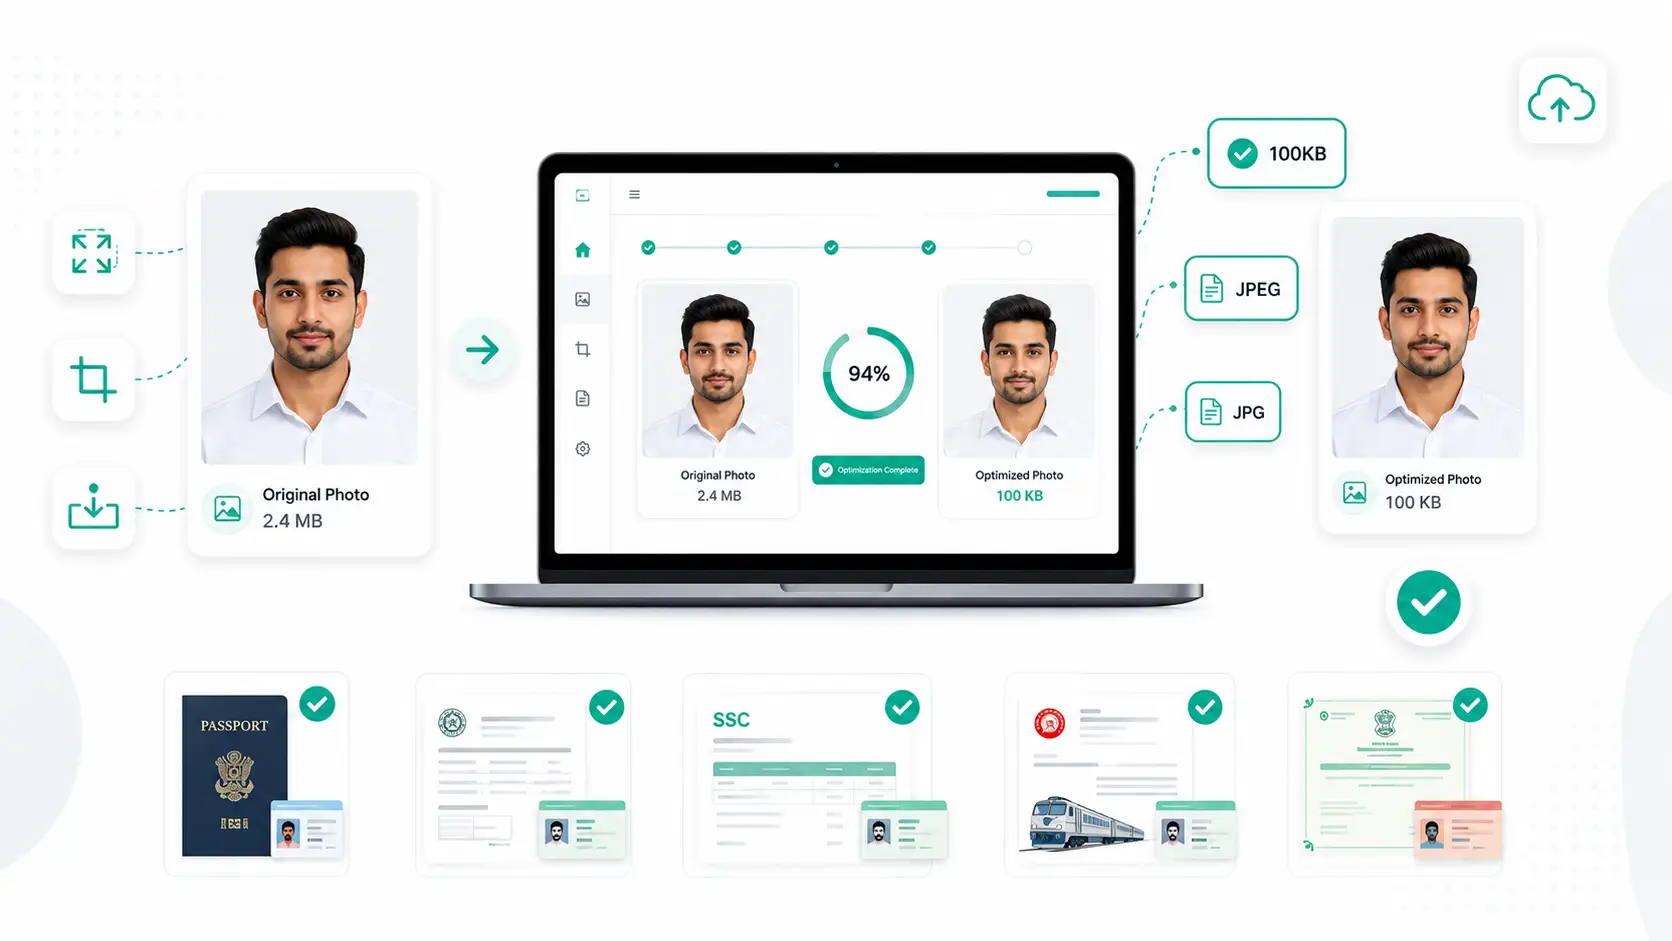
A 100KB photo limit sits in a middle ground: strict enough to keep uploads fast, but generous enough to preserve real detail. It's the limit you'll most often see on UPSC applications, university admission portals, NEET/JEE/CUET forms, and many scholarship and Aadhaar-linked services. Here's what actually drives this requirement and how to meet it correctly the first time.
Why 100KB Specifically?
Portals that expect a reasonably high-quality passport photo — not just a tiny thumbnail — tend to set the limit at 100KB rather than the stricter 20–50KB seen on SSC or Railway forms. It gives enough headroom for a full-colour photo at a larger pixel size (often around 300×400px or similar) while still keeping average upload sizes manageable for the portal's servers.
Where a 100KB Limit Commonly Applies
- UPSC recruitment and exam applications
- University and college admission portals
- NEET, JEE Main, CUET registration
- Scholarship application systems
- Aadhaar update and enrolment forms
Recommended Dimensions
Most 100KB photo requirements pair with dimensions somewhere between 200×230px and 350×450px, saved as JPG. Larger dimensions need more aggressive compression to hit the same KB target, so matching the portal's stated pixel size first — using a resize tool — usually gives a cleaner result than compressing an oversized image directly.
Common Upload Mistakes
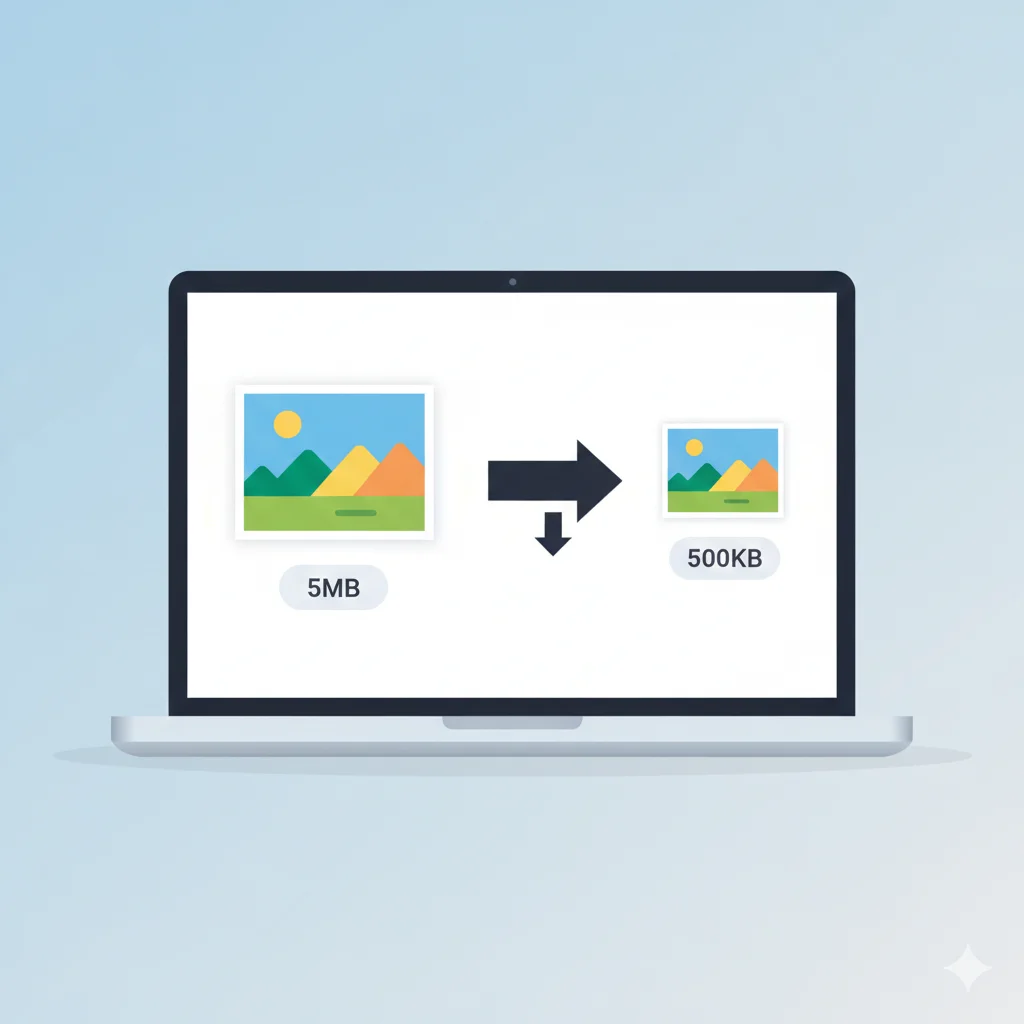
- Uploading straight from a phone camera — modern phone photos are often 3–8MB and 3000px+ wide, far beyond what's needed; compressing these directly can leave visible artifacts.
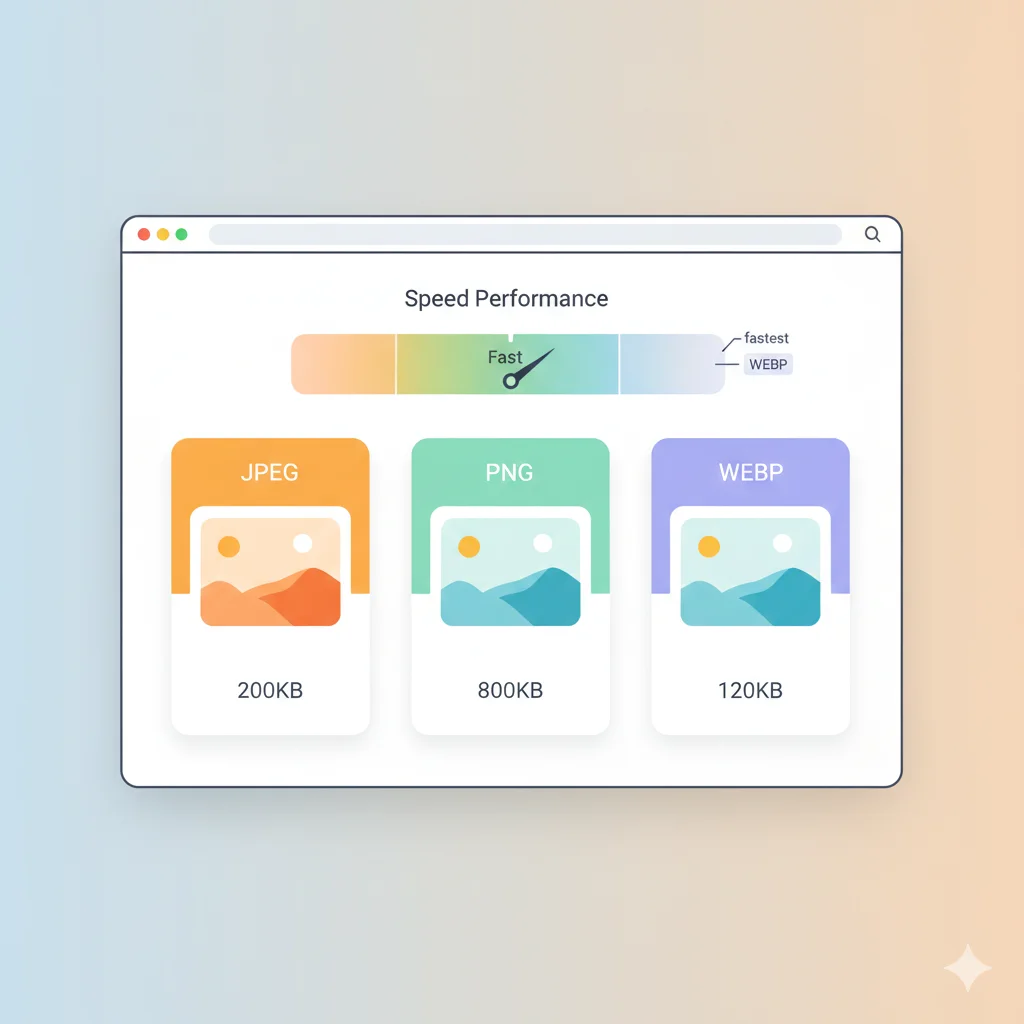
- Using a PNG scan — PNG files are heavier than JPG at equal dimensions; convert with a PNG to JPG tool first.
- Wide, uncropped frames — a photo with a lot of background wastes file size on detail that isn't the applicant's face; cropping tightly first improves output quality at the same KB target.
- Repeated recompression — compressing an already compressed JPG a second or third time degrades quality faster than compressing a fresh original once.
Quality Tips for a Clean 100KB Result
- Start from the original, uncompressed photo whenever possible.
- Use even, natural lighting with a plain background.
- Resize to the exact dimensions the form specifies before compressing.
- Preview the compressed image at full size before uploading — visible blur usually means the source resolution was too low to begin with.
Supported Formats
JPG and JPEG are accepted by virtually every portal that asks for a 100KB limit. PNG and WEBP are sometimes accepted too, but convert to JPG if the form doesn't explicitly list them — it also gives you a much easier path to hitting the size target.
How to Actually Compress to 100KB
After cropping and resizing, a target-size compressor removes the guesswork of picking a quality percentage. WebAuzar's Compress Image to 100KB tool tests quality levels automatically and returns the highest one that still fits your limit, so you get the best possible result rather than an arbitrarily over-compressed file.
Frequently Asked Questions
Will a 100KB photo look noticeably worse than the original?
Not usually. At typical passport-photo dimensions, 100KB is enough to preserve sharp detail with no visible compression artifacts — quality loss becomes visible mainly when compressing very large, high-resolution originals down to the same limit.
Can I upload a PNG if the form doesn't say JPG only?
You can, but PNG files are larger at the same dimensions, making it harder to fit under 100KB without more aggressive compression. Converting to JPG first is usually the simpler path.
Do I need to resize before compressing?
Yes, if the form specifies exact pixel dimensions. Compressing alone controls file size, not the width and height of the image.
Is this tool free to use?
Yes, no registration or software installation is required.
Related Tools
Conclusion
A 100KB photo limit is one of the more forgiving thresholds you'll encounter on government and admission portals, but it still requires getting dimensions, format and file size right together. Crop tightly, resize to spec, convert to JPG if needed, and let a target-size compressor handle the final step.